Monday, July 26, 2010

Fresh from the garden

We're very lucky to have our garden producing so well in it's first year. We got 3 lbs of nectarines all at once! We ate them for days and now they're gone til next year.
This week we harvested a ton of basil and cilantro, 4 cherry tomatoes, anaheim chilis, jalapenos, onions,raspberries and strawberries.
Just email if you'd like some jalapenos. We have plenty. And here's a great salsa recipe:

Ingredients

  • 4 large tomatoes, seeded and diced
  • 1/2 large purple onion, chopped
  • 2 cloves garlic, chopped
  • 2/3 cup chopped fresh cilantro
  • 1 jalapeno pepper, seeded and minced
  • 2 tablespoons fresh lime juice
  • 1/2 cup black beans, rinsed
  • 1 avocado, diced
  • dash of cumin
  • dash of garlic powder
  • 1/4 tsp. chili powder
  • sea salt to taste

Directions

  1. In a small mixing bowl, combine everything axcept the jalapenos. Add jalapenos 2 teaspoons at a time, tasting after each addition to see how hot the salsa has become. Salt to taste. Enjoy!

3lbs of LOVE!

Wednesday, July 14, 2010

Kites with glitter and tissue


This was a fun art project we did using mixed media. Students were given tag board kites. They all had a different spin on it. One balled up tissue and glued it on top of glitter glue. Another drew in glitter glue, then added squares of tissue and then balled the tissue up to make centers on her "flowers." Another student simply used markers to make a wide eyed girl on a stage with a heart behind her. Later we added crepe paper ties to hang down and a piece of yarn to hang it form it's tip.

It was a great time and showed how each student's style is so unique.

Thursday, July 8, 2010


Two takes on oil pastel paintings. One of the artists is 7 and the other is 12. The first step is to sketch out what you want in your picture. The younger student adds lots and lots of thorns and leaves. My older student chose three plants from the garden and then some buckets that were laying around.

Both students needed a break from their drawings so we worked on their tissue covered treasure/jewelry boxes.

If you do this at home you will want to decide whether or not to use tissue that bleeds. The non-bleeding type is more expensive. If you want to use dark and light shades it helps to have the non-bleed type because the dark colors have a tendency to bleed and make your project all black. The treasure box can also be trying on short attention spans. I recommend you try doing one side at a time; remember this is supposed to be fun AND help your child build up their attention span. Rome was not built in a day! It took lots of patience and time.

We have another session this week. That is when we add the oil pastel to our sketch. The students are talking about adding real insects to their pictures...we'll see!


Saturday, July 3, 2010

Tie Dye T-shirts for the 4th


We thought we'd try tie dye as our first big project of the summer. Here's the tutorial:
1. Choose an all cotton t-shirt that has been washed and dried without any fabric softener.
2. Place a marble behind both thicknesses of the fabric and wrap a rubberband around it tightly.
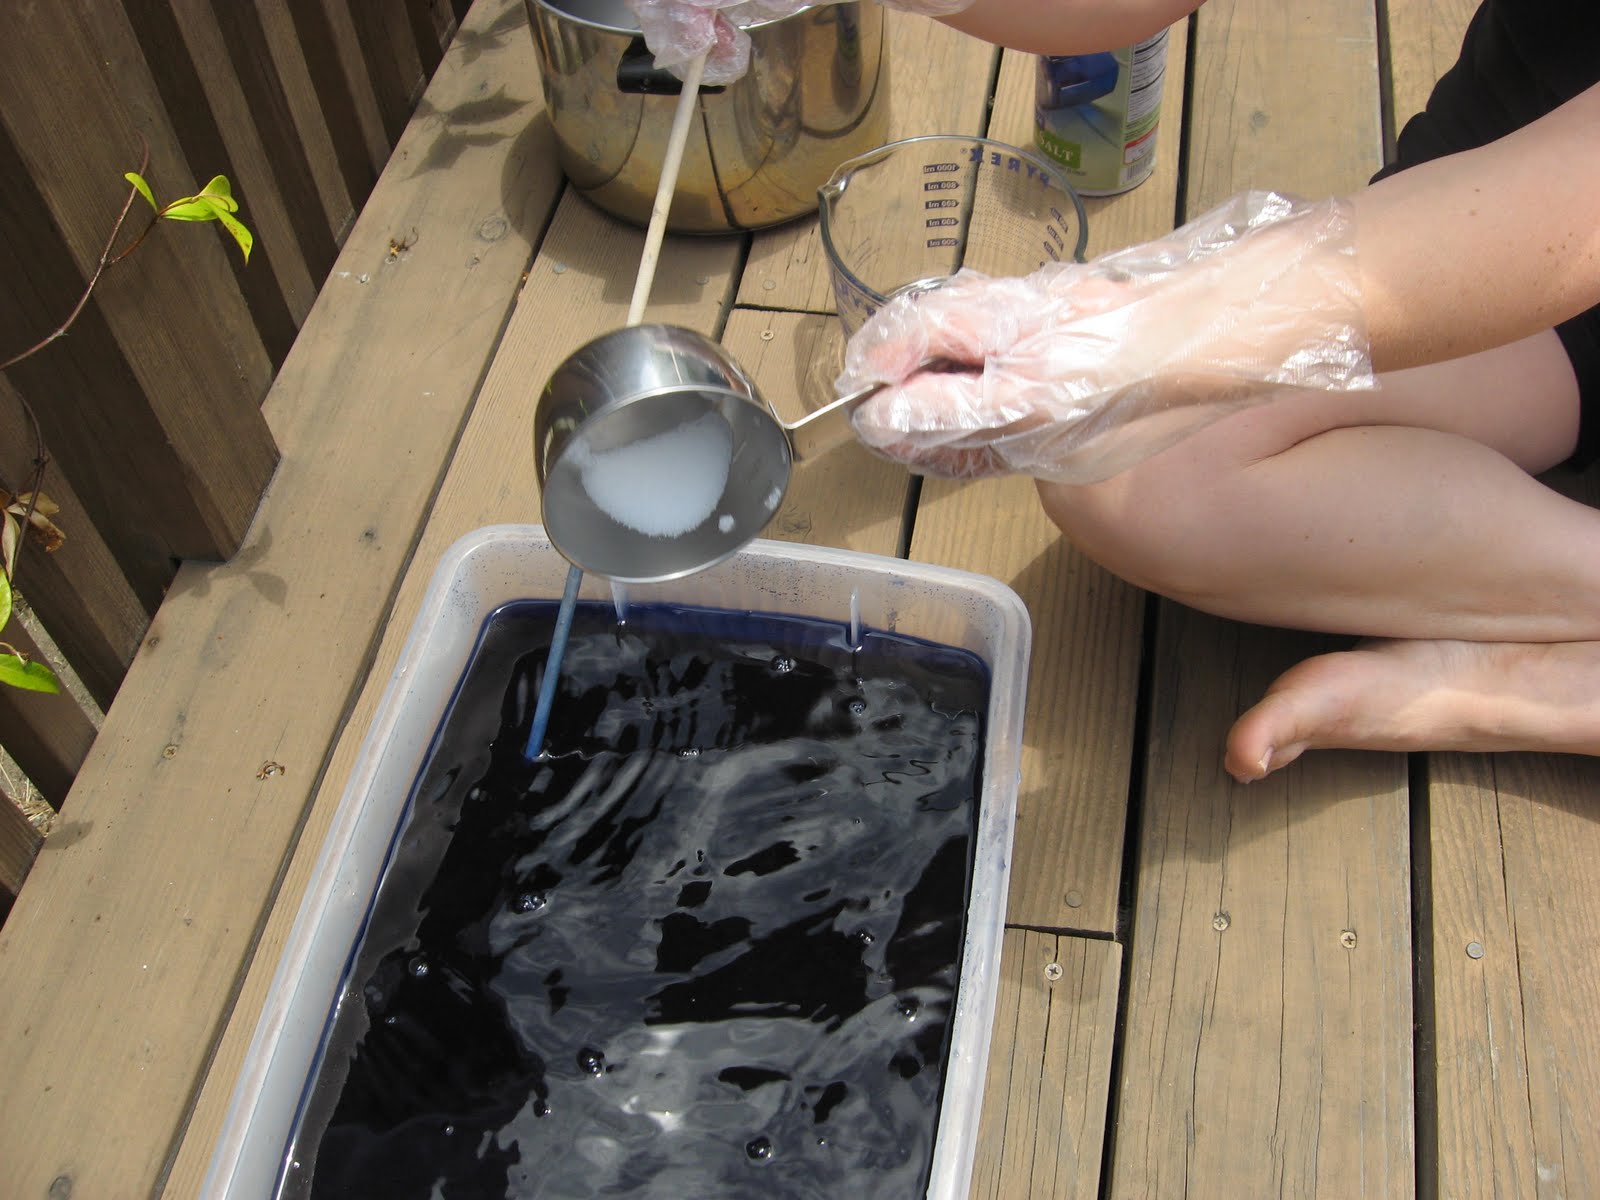
3. Prepare your dye bath following the directions on the box of RIT. You will need salt, water, a container to hold lots of hot water, plastic gloves and a stick to move the dye around.
4. Place the t-shirt in the dye bath. Set timer for 30 minutes. Move t-shirt around periodically so it is submerged.
5. When timer goes off, ring shirt out and rinse in warm water in the sink. Eventually, you can turn the water to cool and then cold until the water runs clear.
6. Wash the t-shirt by itself on warm with soap in the washing machine.
7. Dry in the dryer by itself.